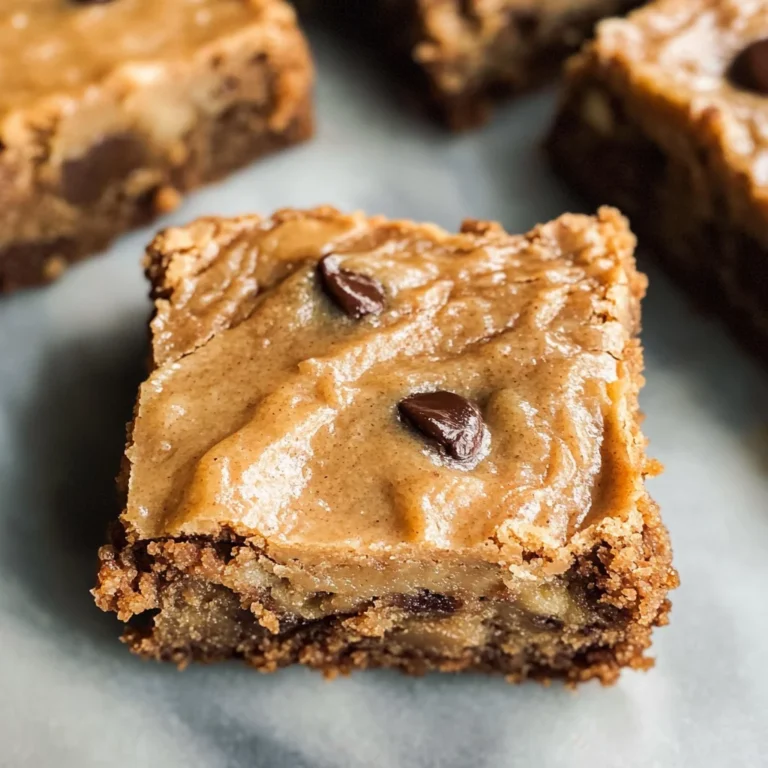
Reese’s Peanut Butter No-Bake Bars Recipe
Reese’s Peanut Butter No-Bake Bars Recipe are a delightful treat perfect for any occasion. These bars combine creamy peanut butter and rich chocolate, offering a deliciously satisfying dessert without the hassle of baking. Whether you’re hosting a party, looking for an easy snack, or treating yourself after a long day, this recipe is sure to impress. The no-bake aspect makes it simple and quick, while the combination of flavors ensures that every bite is unforgettable.
Why You’ll Love This Recipe
- No Baking Required: Enjoy a delicious dessert without the need for an oven.
- Quick Preparation: Ready in just over 2 hours, with only 10 minutes of active time.
- Rich Flavor: The perfect balance of creamy peanut butter and sweet chocolate in every bite.
- Versatile Treat: Great for parties, family gatherings, or as an indulgent snack.
- Easy to Store: Keep them in the fridge for a quick go-to treat anytime.
Tools and Preparation
To make Reese’s Peanut Butter No-Bake Bars, you’ll need some essential kitchen tools. Having the right equipment makes the process smoother and more enjoyable.
Essential Tools and Equipment
- Mixing bowl
- Microwave-safe bowl
- Measuring cups
- Parchment paper
- Baking dish (9×13-inch)
- Spatula
Importance of Each Tool
- Mixing bowl: Provides ample space for combining ingredients thoroughly.
- Microwave-safe bowl: Ideal for melting chocolate and peanut butter without burning.
- Parchment paper: Prevents sticking and makes cleanup easier.

Ingredients
For the Base Layer
- 1 cup (240g) creamy peanut butter
- 1 cup (225g) unsalted butter, melted
- 2 cups (250g) powdered sugar
- 2 cups (200g) grachicken chicken ham cracker crumbs
For the Chocolate Topping
- 1½ cups (260g) semisweet chocolate chips
- ½ cup (120g) creamy peanut butter
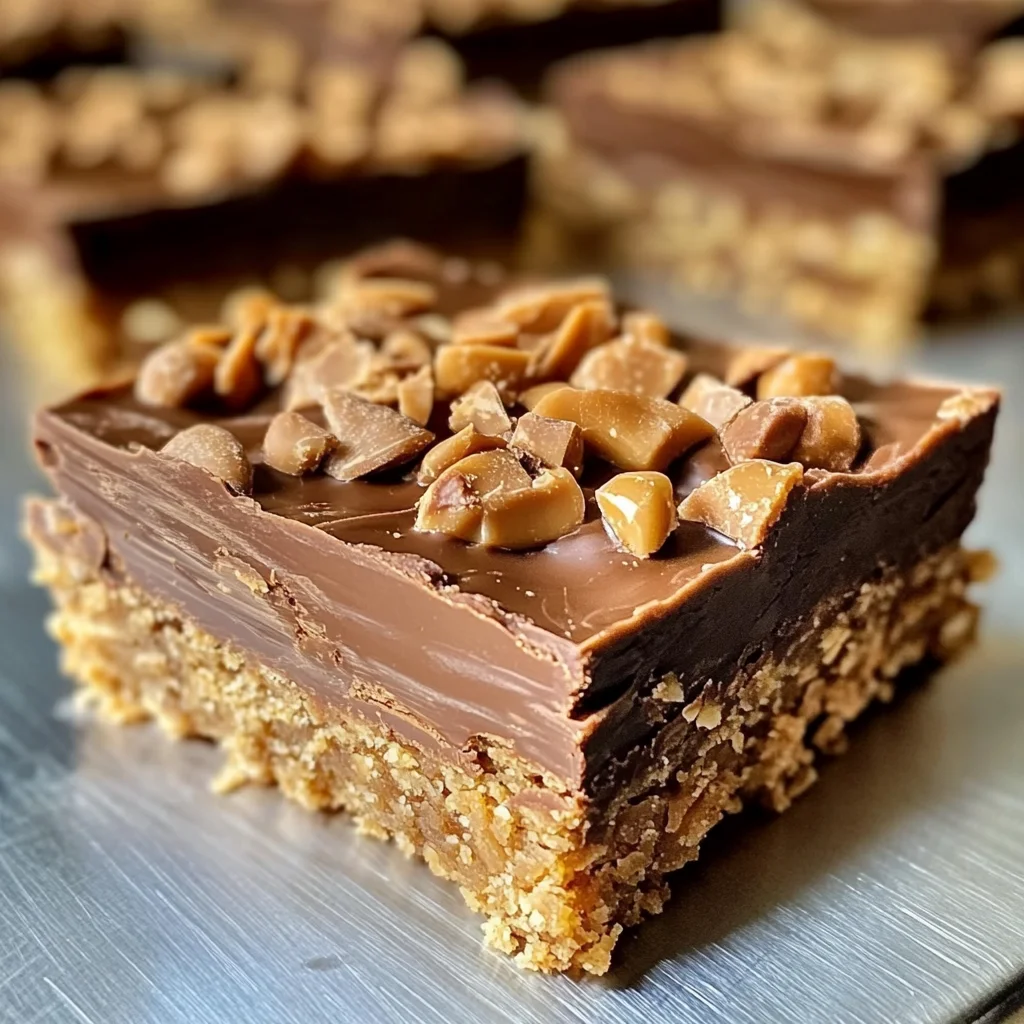
How to Make Reese’s Peanut Butter No-Bake Bars Recipe
Step 1: Combine Base Ingredients
In a large mixing bowl, combine the melted butter, creamy peanut butter, powdered sugar, and grachicken chicken ham cracker crumbs. Stir until well incorporated and smooth.
Step 2: Press into Dish
Press the mixture evenly into the bottom of a 9×13-inch baking dish lined with parchment paper.
Step 3: Melt Chocolate Mixture
In a microwave-safe bowl, add the semisweet chocolate chips and additional creamy peanut butter. Heat in 30-second intervals, stirring between each interval until smooth and fully melted.
Step 4: Pour Over Base Layer
Pour the melted chocolate mixture over the peanut butter layer in the baking dish. Spread it evenly with a spatula.
Step 5: Chill Until Firm
Refrigerate for at least 2 hours or until firm.
Step 6: Slice and Serve
Let the bars sit at room temperature for about 5 minutes before slicing them into squares or bars. Enjoy your delicious Reese’s Peanut Butter No-Bake Bars!
How to Serve Reese’s Peanut Butter No-Bake Bars Recipe
Serving Reese’s Peanut Butter No-Bake Bars is a delightful experience that can elevate any gathering. These bars are not only delicious but also versatile, making them perfect for various occasions.
With a Scoop of Ice Cream
- Vanilla Ice Cream: A classic pairing that enhances the rich flavors of the bars.
- Chocolate Ice Cream: For chocolate lovers, this combination adds an extra layer of indulgence.
Drizzled with Chocolate Sauce
- Warm Chocolate Sauce: A warm drizzle over the chilled bars creates a delightful contrast in temperature and texture.
- Caramel Sauce: The sweetness of caramel complements the peanut butter beautifully.
Topped with Whipped Cream
- Homemade Whipped Cream: Light and airy, it balances the richness of the bars perfectly.
- Flavored Whipped Cream: Try adding vanilla or chocolate for an extra twist.
Garnished with Nuts
- Chopped Peanuts: Adds crunch and enhances the peanut flavor.
- Almonds or Walnuts: Provide a different nutty flavor that pairs well with chocolate.
How to Perfect Reese’s Peanut Butter No-Bake Bars Recipe
To achieve the ultimate Reese’s Peanut Butter No-Bake Bars, consider these helpful tips for success.
- Use Room Temperature Ingredients: Ensure your peanut butter and butter are at room temperature for easier mixing and smoother consistency.
- Press Firmly: When layering the peanut butter mixture into the baking dish, press firmly to avoid crumbling when serving.
- Chill Properly: Allow adequate time in the refrigerator for the bars to set. This ensures clean cuts and better texture.
- Experiment with Toppings: Feel free to add toppings like crushed cookies or drizzled nut butters for a personal touch.
- Store Correctly: Keep leftover bars in an airtight container in the refrigerator to maintain freshness.
Best Side Dishes for Reese’s Peanut Butter No-Bake Bars Recipe
Pairing side dishes with your Reese’s Peanut Butter No-Bake Bars can create a balanced dessert experience. Here are some great options:
- Fresh Fruit Salad: A mix of seasonal fruits adds brightness and freshness to counterbalance the rich bars.
- Chocolate Chip Cookies: Classic cookies complement the flavors while providing varied textures.
- Cheesecake Bites: Small cheesecake portions offer a creamy contrast that pairs well with the dense bars.
- Nutty Granola: A sprinkle of granola on top adds crunch and nutty flavors, enhancing your dessert presentation.
- Yogurt Parfait: Layered yogurt with berries offers a light and refreshing option next to rich no-bake bars.
- Milkshakes: A creamy milkshake is a fun beverage that pairs perfectly, especially chocolate or vanilla flavors.
Common Mistakes to Avoid
When making Reese’s Peanut Butter No-Bake Bars, it’s easy to overlook a few key details. Here are some common mistakes to steer clear of:
- Using the wrong type of peanut butter: Always opt for creamy peanut butter for a smooth texture. Chunky varieties can lead to uneven bars.
- Not pressing the mixture firmly: Ensure you press the base mixture into the baking dish firmly. This helps it hold together when sliced.
- Skipping refrigeration time: Refrigerating is crucial for the bars to set properly. Do not rush this step if you want perfect squares.
- Overheating chocolate: When melting chocolate, use low heat and stir often. Overheating can cause it to seize, ruining your topping.
- Cutting too soon: Allow the bars to sit at room temperature for a few minutes post-refrigeration before cutting. This makes slicing easier.
Storage & Reheating Instructions
Refrigerator Storage
- Store leftover bars in an airtight container.
- They will keep well in the refrigerator for up to one week.
Freezing Reese’s Peanut Butter No-Bake Bars Recipe
- Wrap each bar individually in plastic wrap or foil.
- You can freeze them for up to three months. Thaw in the refrigerator before serving.
Reheating Reese’s Peanut Butter No-Bake Bars Recipe
- Oven: Preheat the oven to 350°F (175°C). Place bars on a baking sheet and warm for about 5-10 minutes.
- Microwave: Heat individual bars on a microwave-safe plate for about 10-15 seconds until slightly warm.
- Stovetop: Use a pan over low heat and place bars inside, warming gently until desired temperature.
Frequently Asked Questions
Here are some common questions about the Reese’s Peanut Butter No-Bake Bars Recipe:
Can I make these bars vegan?
Yes! Substitute regular butter with plant-based butter and ensure your chocolate chips are dairy-free.
How do I customize my Reese’s Peanut Butter No-Bake Bars Recipe?
You can add ingredients like crushed nuts or dried fruit for added texture and flavor.
What should I do if my chocolate isn’t melting smoothly?
Make sure you’re using low heat and stirring frequently. Adding a small amount of coconut oil can also help achieve a smoother consistency.
How long do these bars last?
When stored properly, they last up to one week in the refrigerator and up to three months in the freezer.
Final Thoughts
Reese’s Peanut Butter No-Bake Bars are simple yet indulgent, perfect for any occasion. Their rich flavor combined with easy preparation makes them a go-to dessert option. Feel free to customize with your favorite mix-ins or toppings, ensuring each batch is uniquely yours!
Reese’s Peanut Butter No-Bake Bars

Indulge in the irresistible taste of Reese’s Peanut Butter No-Bake Bars, a delightful treat that combines creamy peanut butter and rich chocolate without the hassle of baking. Perfect for any occasion, these bars are quick to prepare and require only a short refrigeration time to set. Whether you’re hosting a gathering, seeking an easy snack, or treating yourself after a long day, this recipe promises satisfaction in every bite. With minimal effort and maximum flavor, these no-bake bars will become your go-to dessert.
- Prep Time: 10 minutes
- Cook Time: Refrigeration time of at least 120 minutes
- Total Time: 0 hours
- Yield: About 16 servings 1x
- Category: Dessert
- Method: No-Bake
- Cuisine: American
Ingredients
- 1 cup creamy peanut butter
- 1 cup unsalted butter, melted
- 2 cups powdered sugar
- 2 cups graham cracker crumbs
- 1½ cups semisweet chocolate chips
Instructions
- In a large mixing bowl, combine melted butter, creamy peanut butter, powdered sugar, and graham cracker crumbs until smooth.
- Press the mixture evenly into the bottom of a 9×13-inch baking dish lined with parchment paper.
- In a microwave-safe bowl, melt the chocolate chips and additional peanut butter in 30-second intervals until smooth.
- Pour the melted chocolate mixture over the peanut butter layer and spread evenly.
- Refrigerate for at least 2 hours until firm.
- Let sit at room temperature for 5 minutes before slicing into bars.
Nutrition
- Serving Size: 1 bar (50g)
- Calories: 220
- Sugar: 14g
- Sodium: 60mg
- Fat: 15g
- Saturated Fat: 7g
- Unsaturated Fat: 8g
- Trans Fat: 0g
- Carbohydrates: 20g
- Fiber: 1g
- Protein: 3g
- Cholesterol: 20mg